How to Use BrwsrFx: A Complete Overview
This walks through the whole BrwsrFx workflow, from opening the app to exporting your first video. No install, no sign-in required. If you're looking for a specific effect instead, the effect tutorials below cover those one at a time.
1. Open the app
Go to brwsrfx.vercel.app and click Get Started or Open App in the top nav. There's no sign-in wall — guests drop straight into the editor. If you're signed in with Google, you'll land on your Projects dashboard instead, showing any compositions you've already saved.
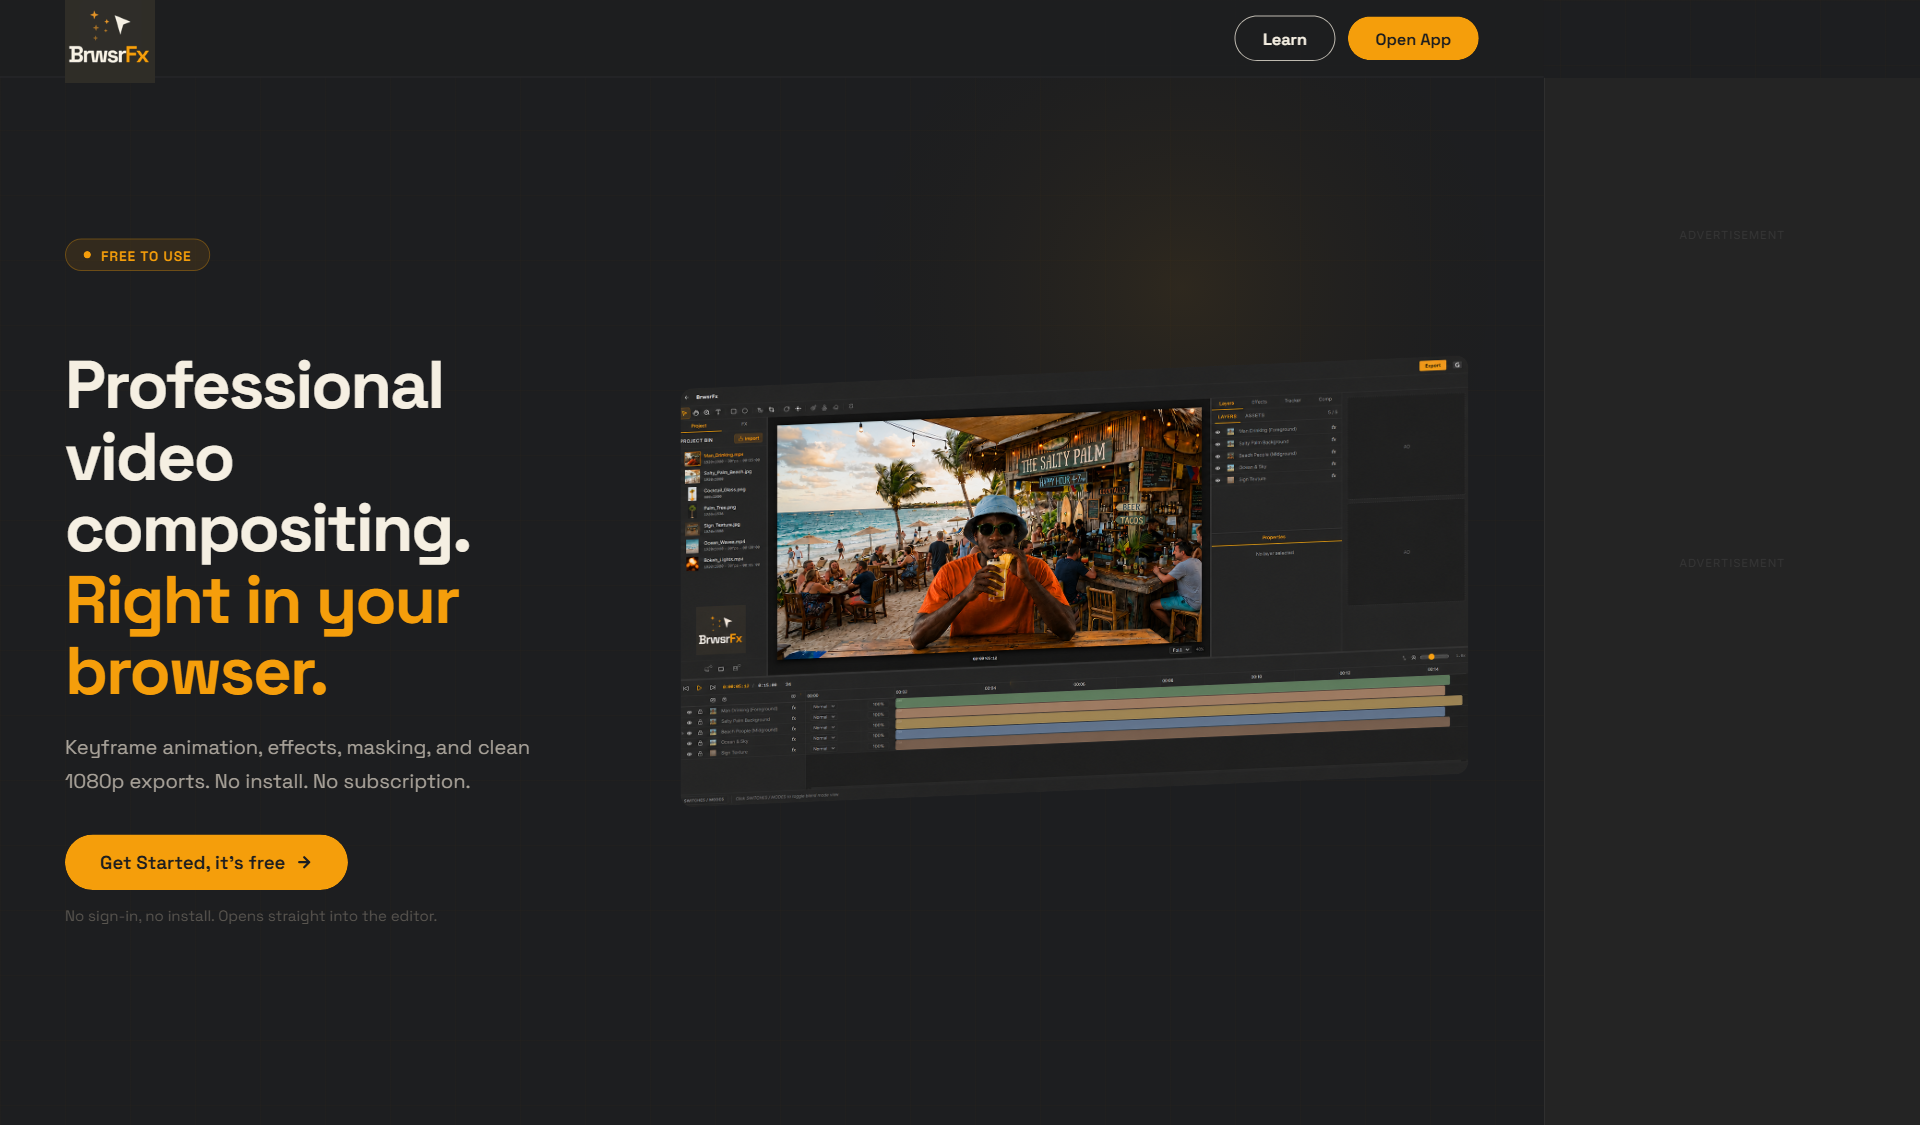
BrwsrFx landing page with the "Get Started, it's free" CTA
2. Start a project
From the Projects screen, pick an aspect ratio for your new composition: 16:9, 9:16, 1:1, or Custom for a specific size. Existing projects are listed below as thumbnails — click one to reopen it, or use Import project to load a saved file.
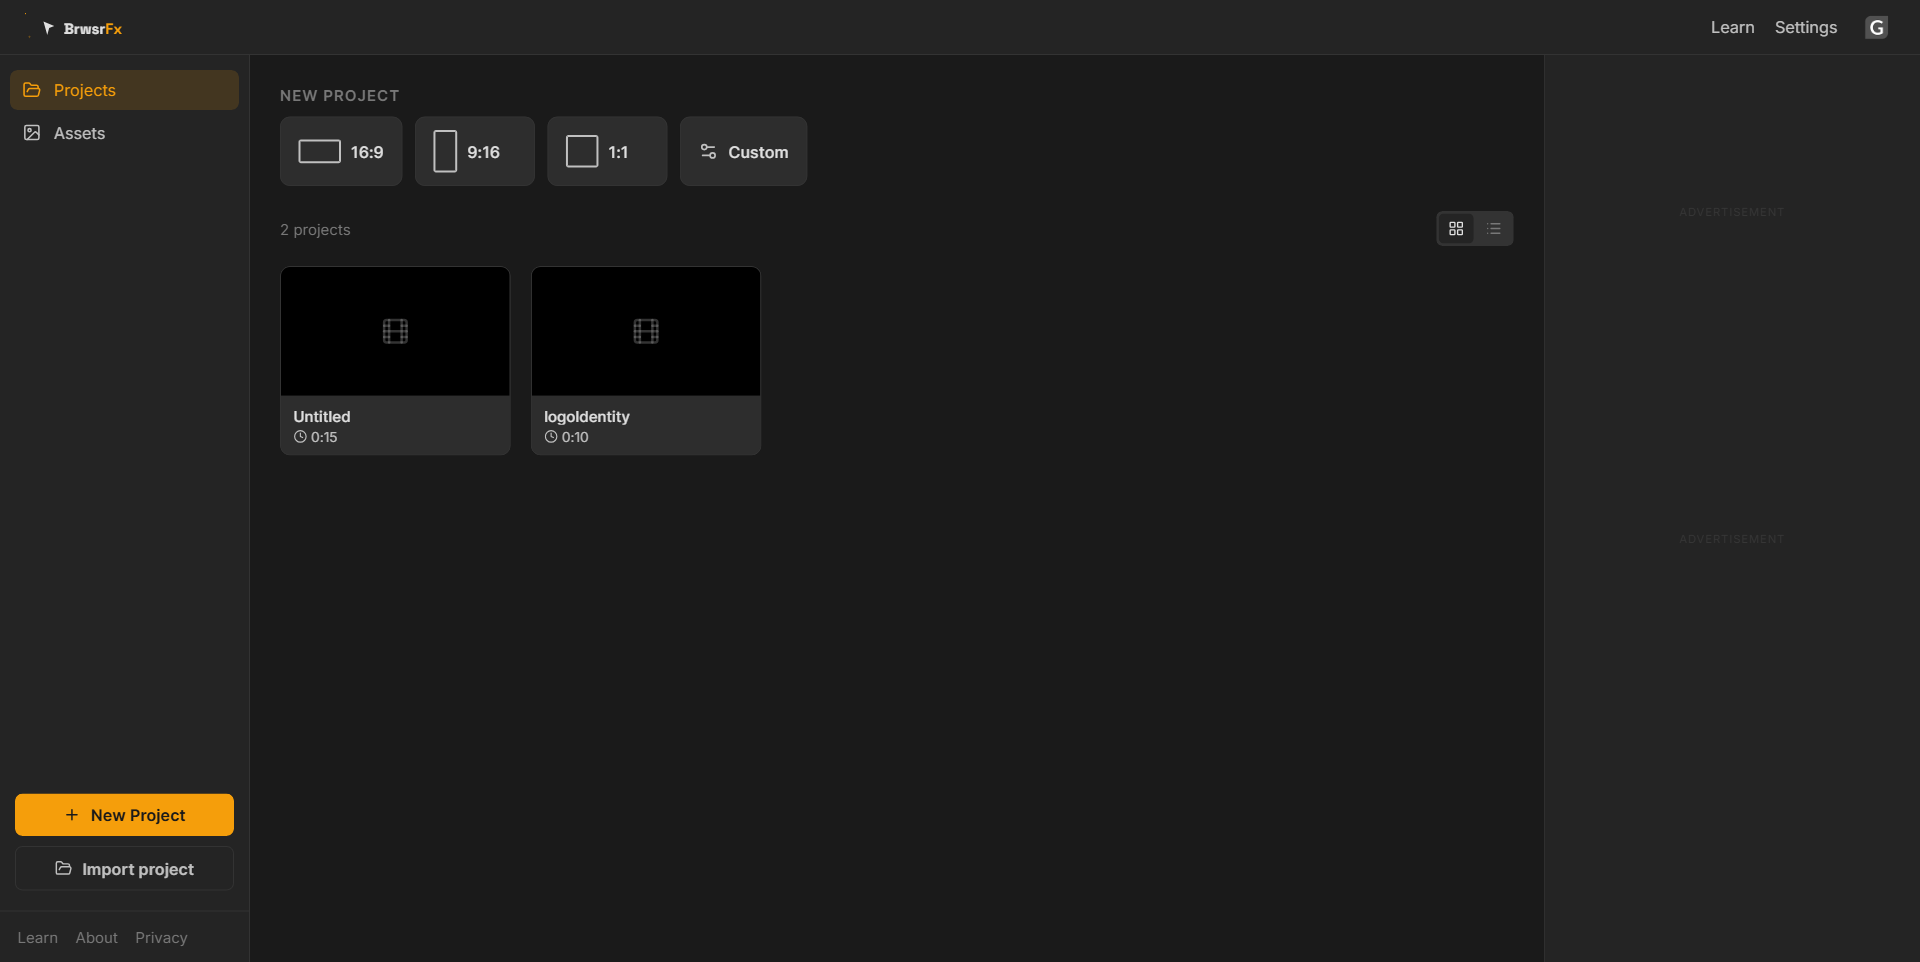
Projects dashboard: aspect ratio picker and saved projects grid
3. Set your media folder
In a new project, the Assets panel on the right starts empty. Click Set Media Folder and point it at a local folder on your computer. BrwsrFx reads footage straight from disk via your browser's File System Access API — nothing uploads to a server, and files must stay in that folder with their original names.
4. Import footage
In the Project tab on the left, click Import above the Project Bin to bring files in as clips. BrwsrFx supports video, image, audio, text, shape and null layers — everything you import lands in the Project Bin first, ready to drag onto the timeline.
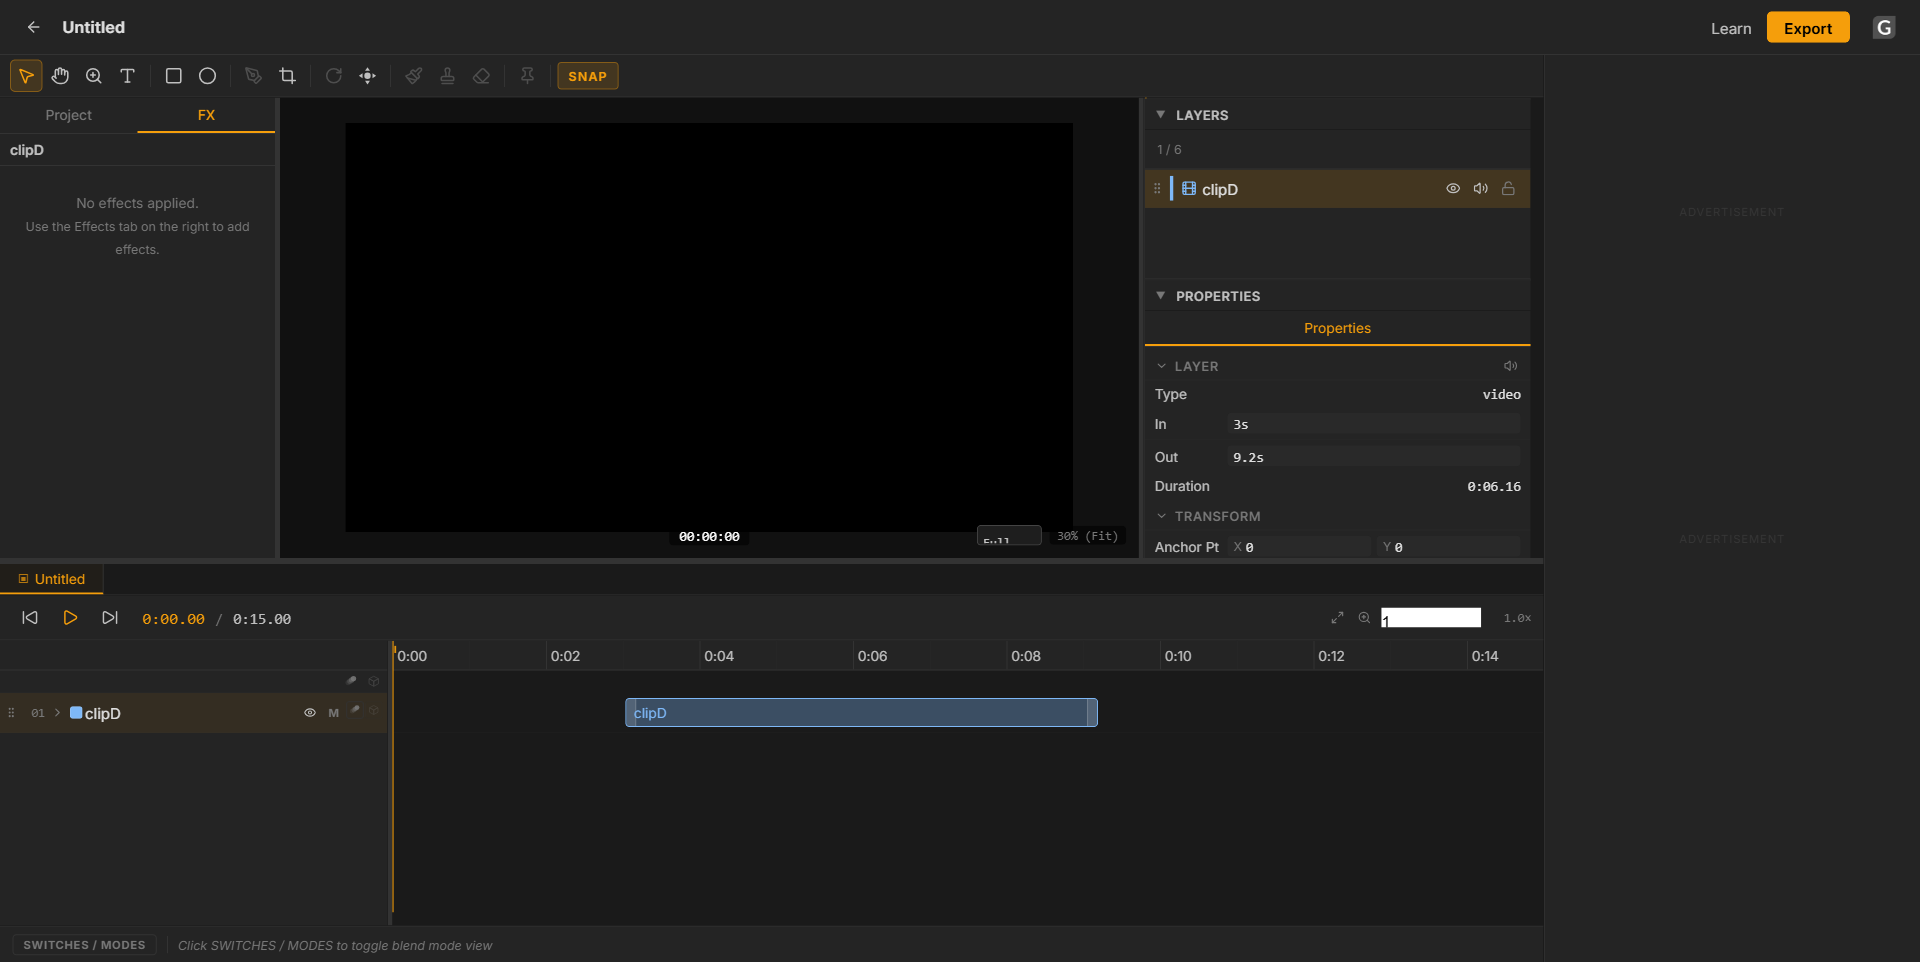
Project Bin with a clip imported, ready to drag to the timeline
5. Build your timeline
Drag a clip from the Project Bin down into the timeline panel to create a layer. Each layer gets its own row: drag its edges to trim, double-click to rename, and reorder layers by dragging them up or down — higher layers composite on top of lower ones, same as After Effects or Photoshop.
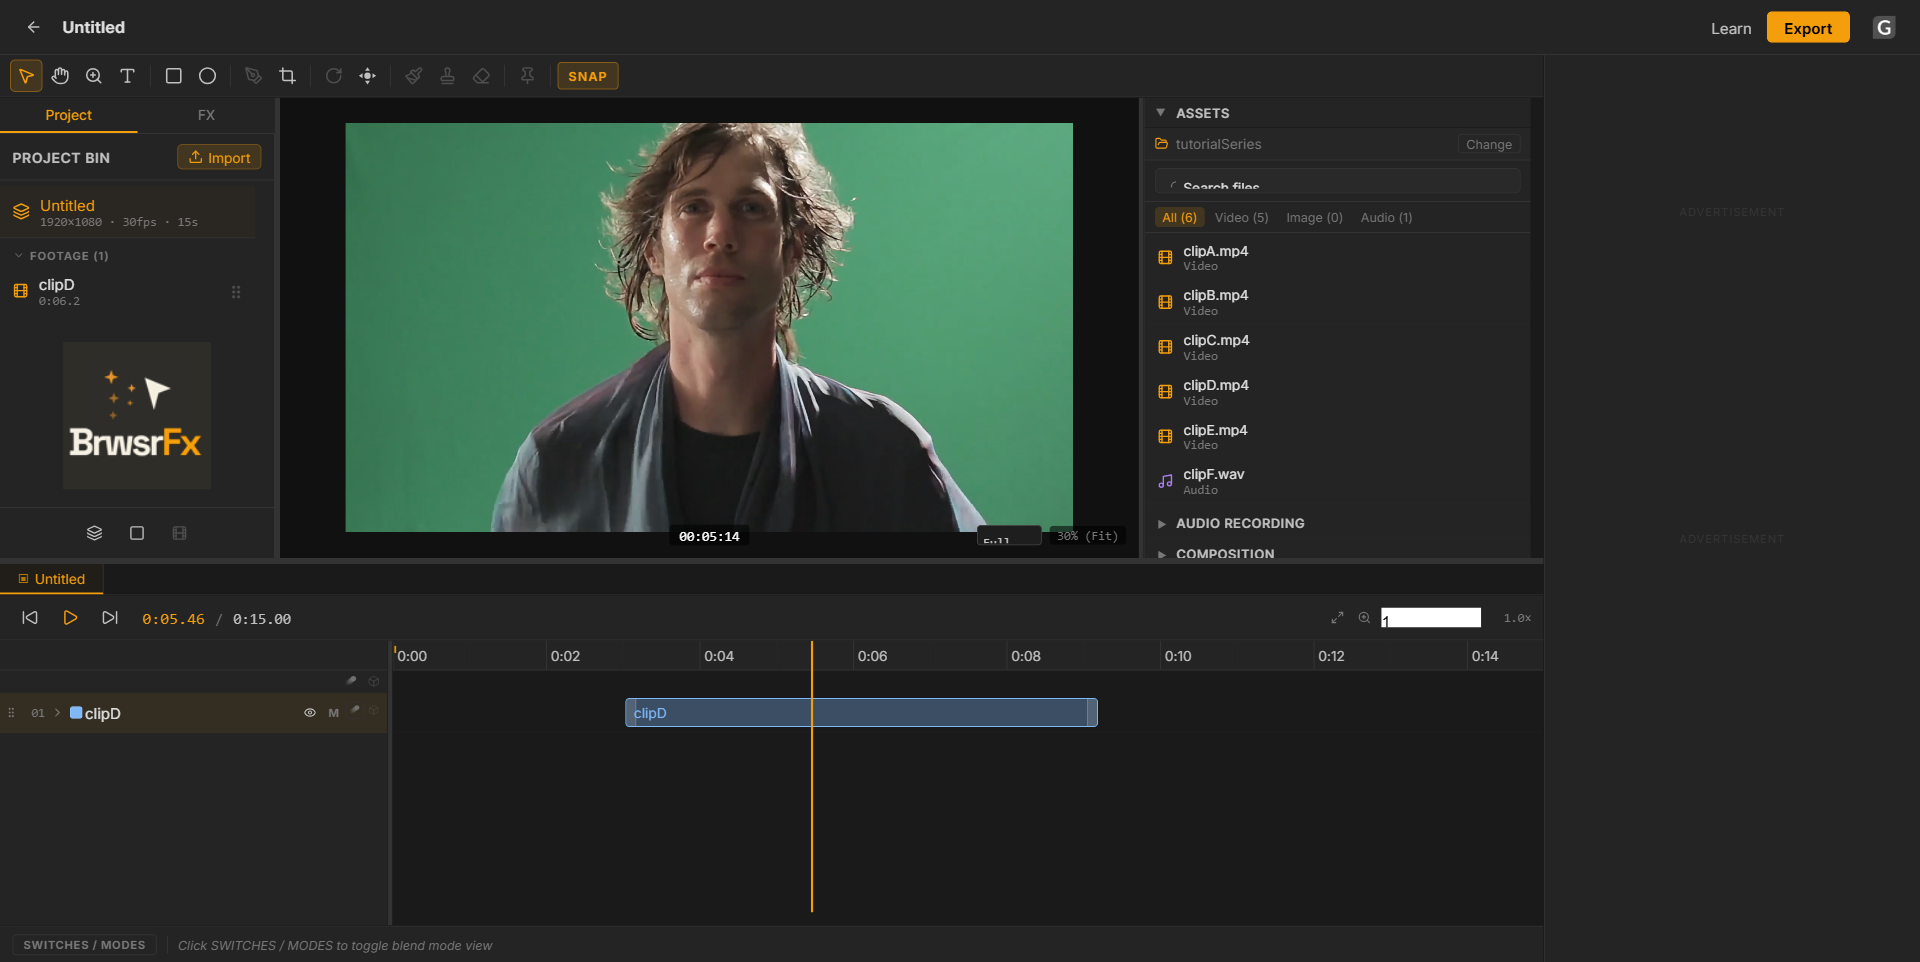
A clip on the timeline, playing back in the preview
Positioning a clip precisely
Dragging works, but for exact placement, select the layer and use the Start field in the Properties panel — type a timecode and the whole clip shifts there, keeping its duration intact. Type 0 to snap a clip to the very beginning of the composition without pixel-dragging.
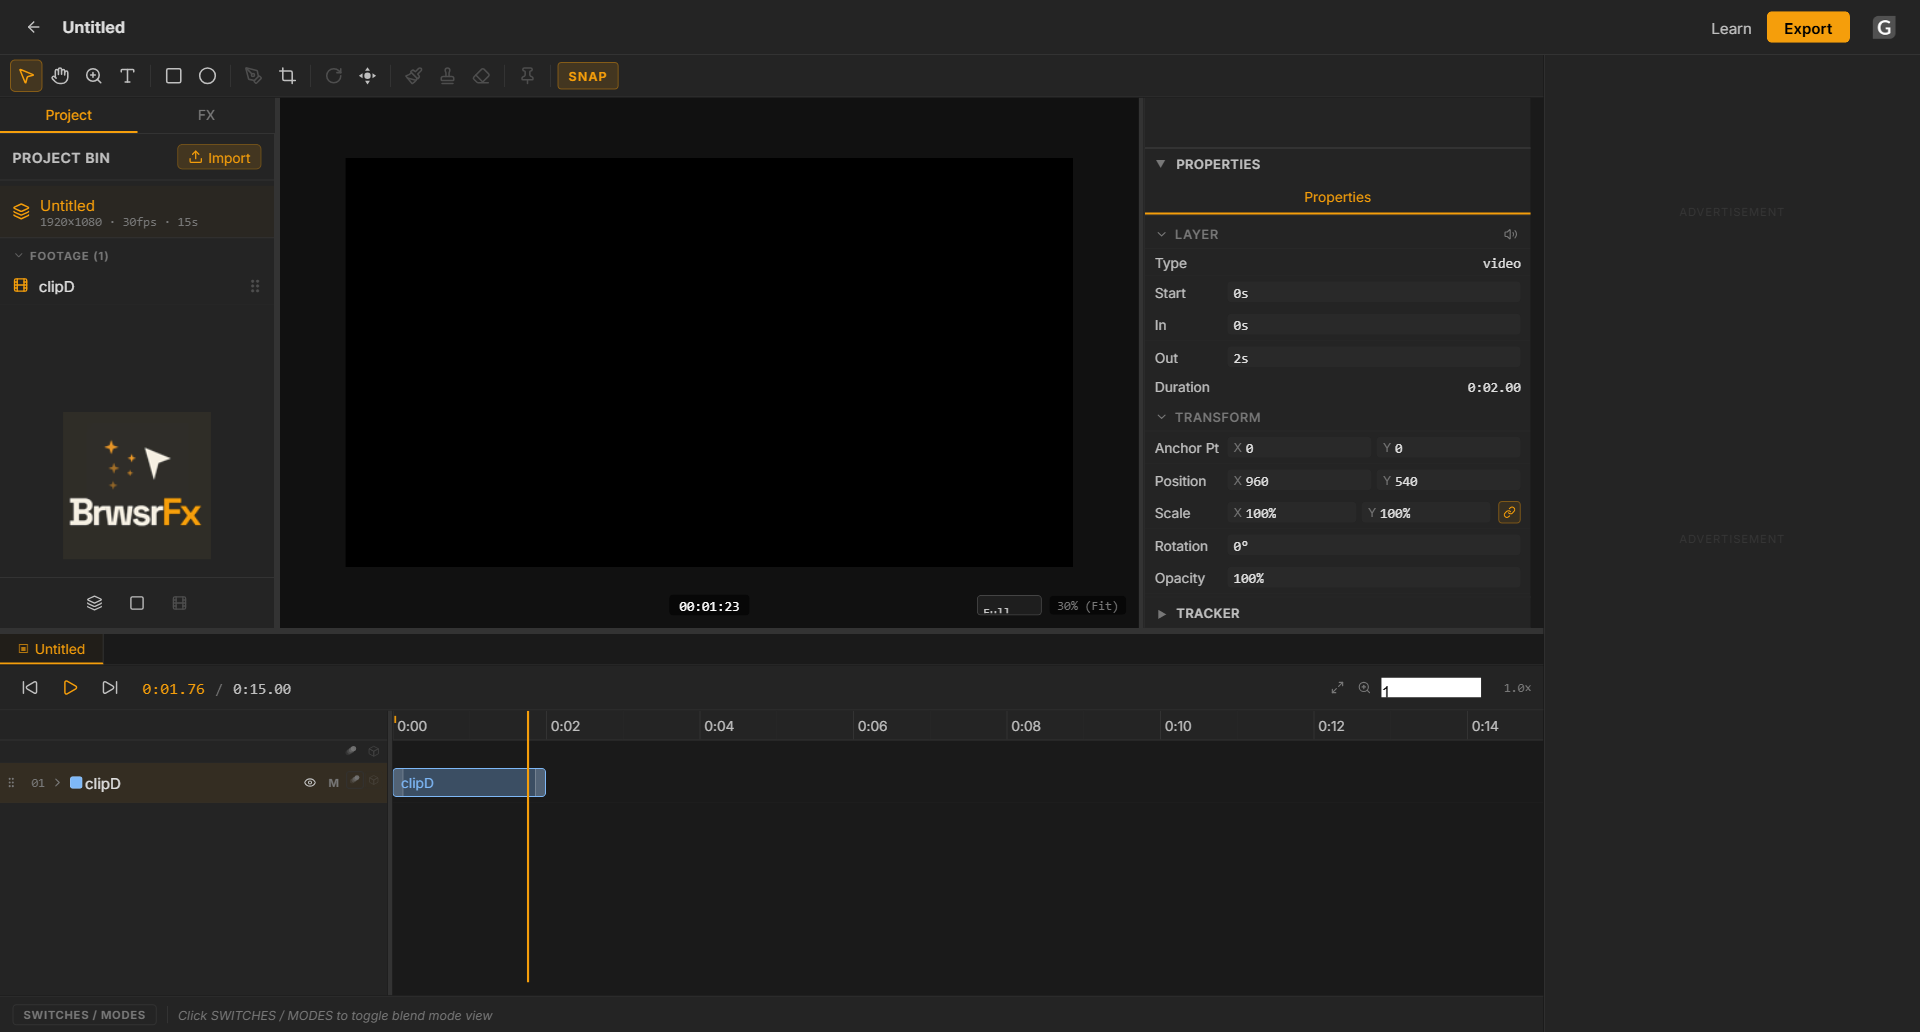
The Start field in Properties: type a timecode instead of dragging the clip
6. Animate with keyframes
Select a layer, then open the Properties panel on the right. Click the stopwatch icon next to Position, Scale, Rotation, Opacity or Anchor Point to start keyframing that property — move the playhead, change the value, and a new keyframe is added automatically.
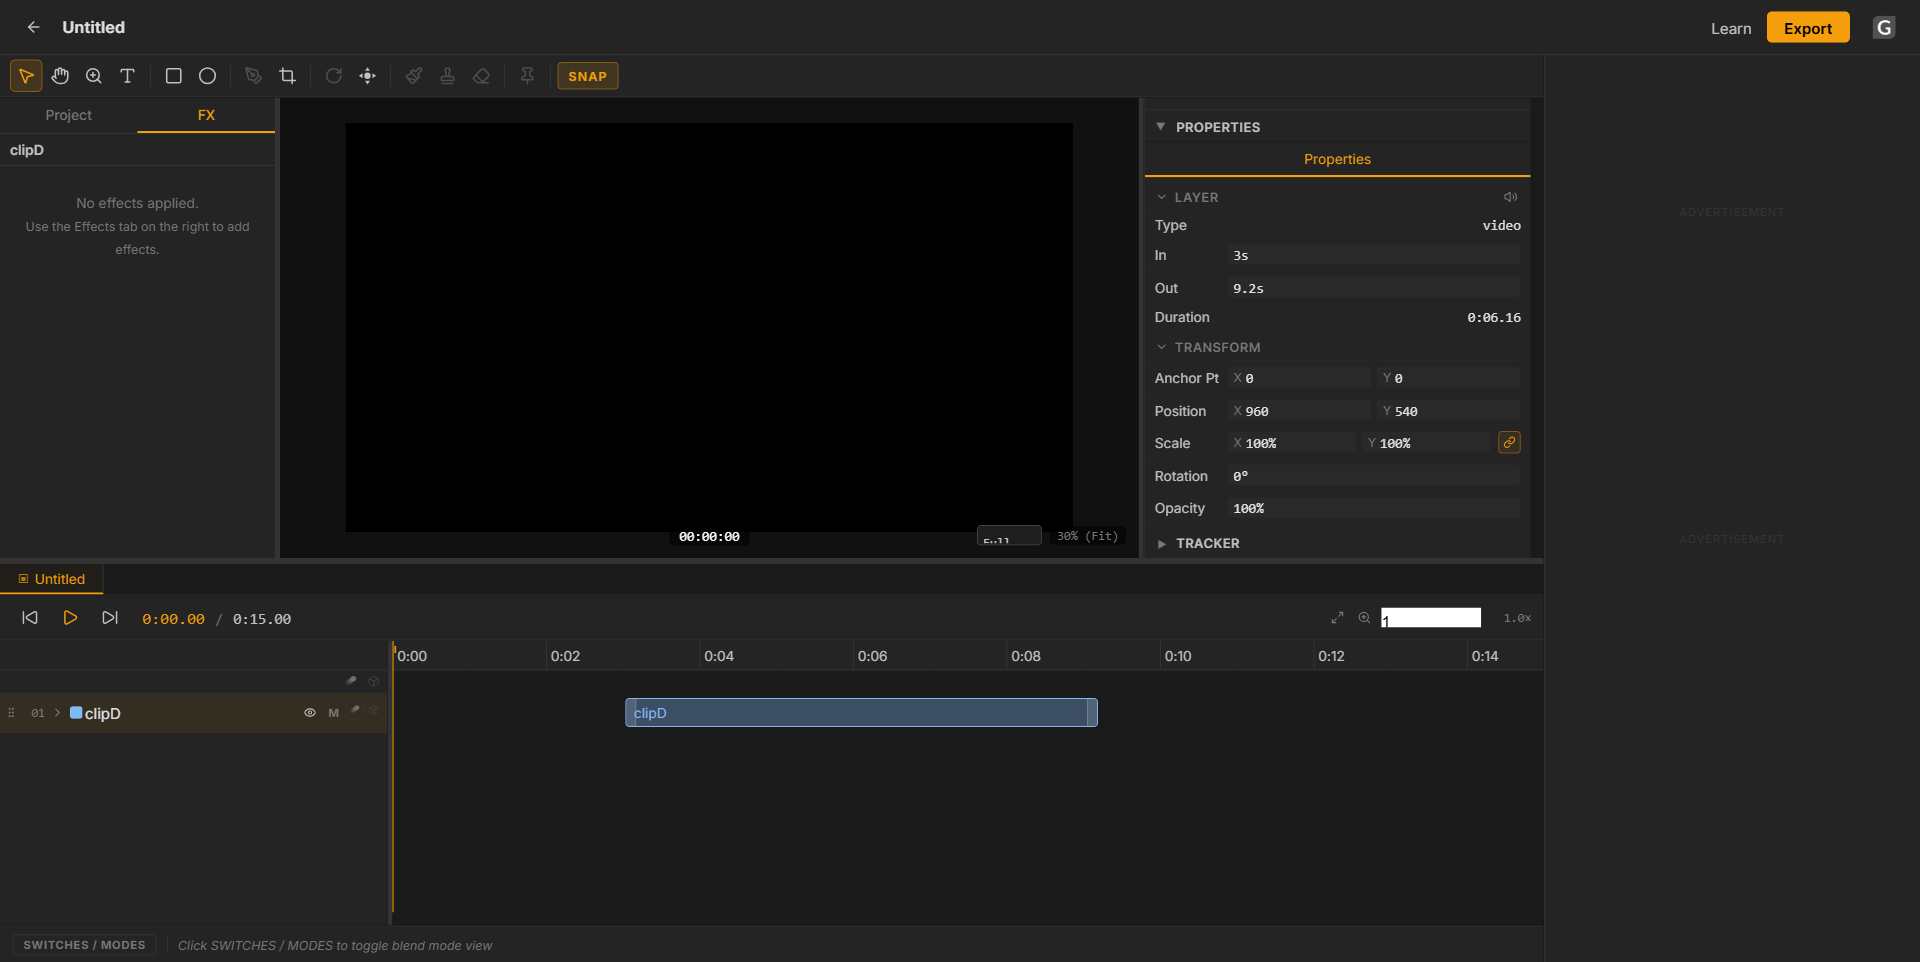
Properties panel: Position, Scale, Rotation and Opacity, ready to keyframe
7. Add effects
With a layer selected, switch to the FX tab (top-left, next to Project). Browse effects across categories — color correction, blur & sharpen, keying, distort, transitions, noise, channel and time — and stack as many as you need on a single layer. Each effect has its own dedicated tutorial if you want a deep dive.
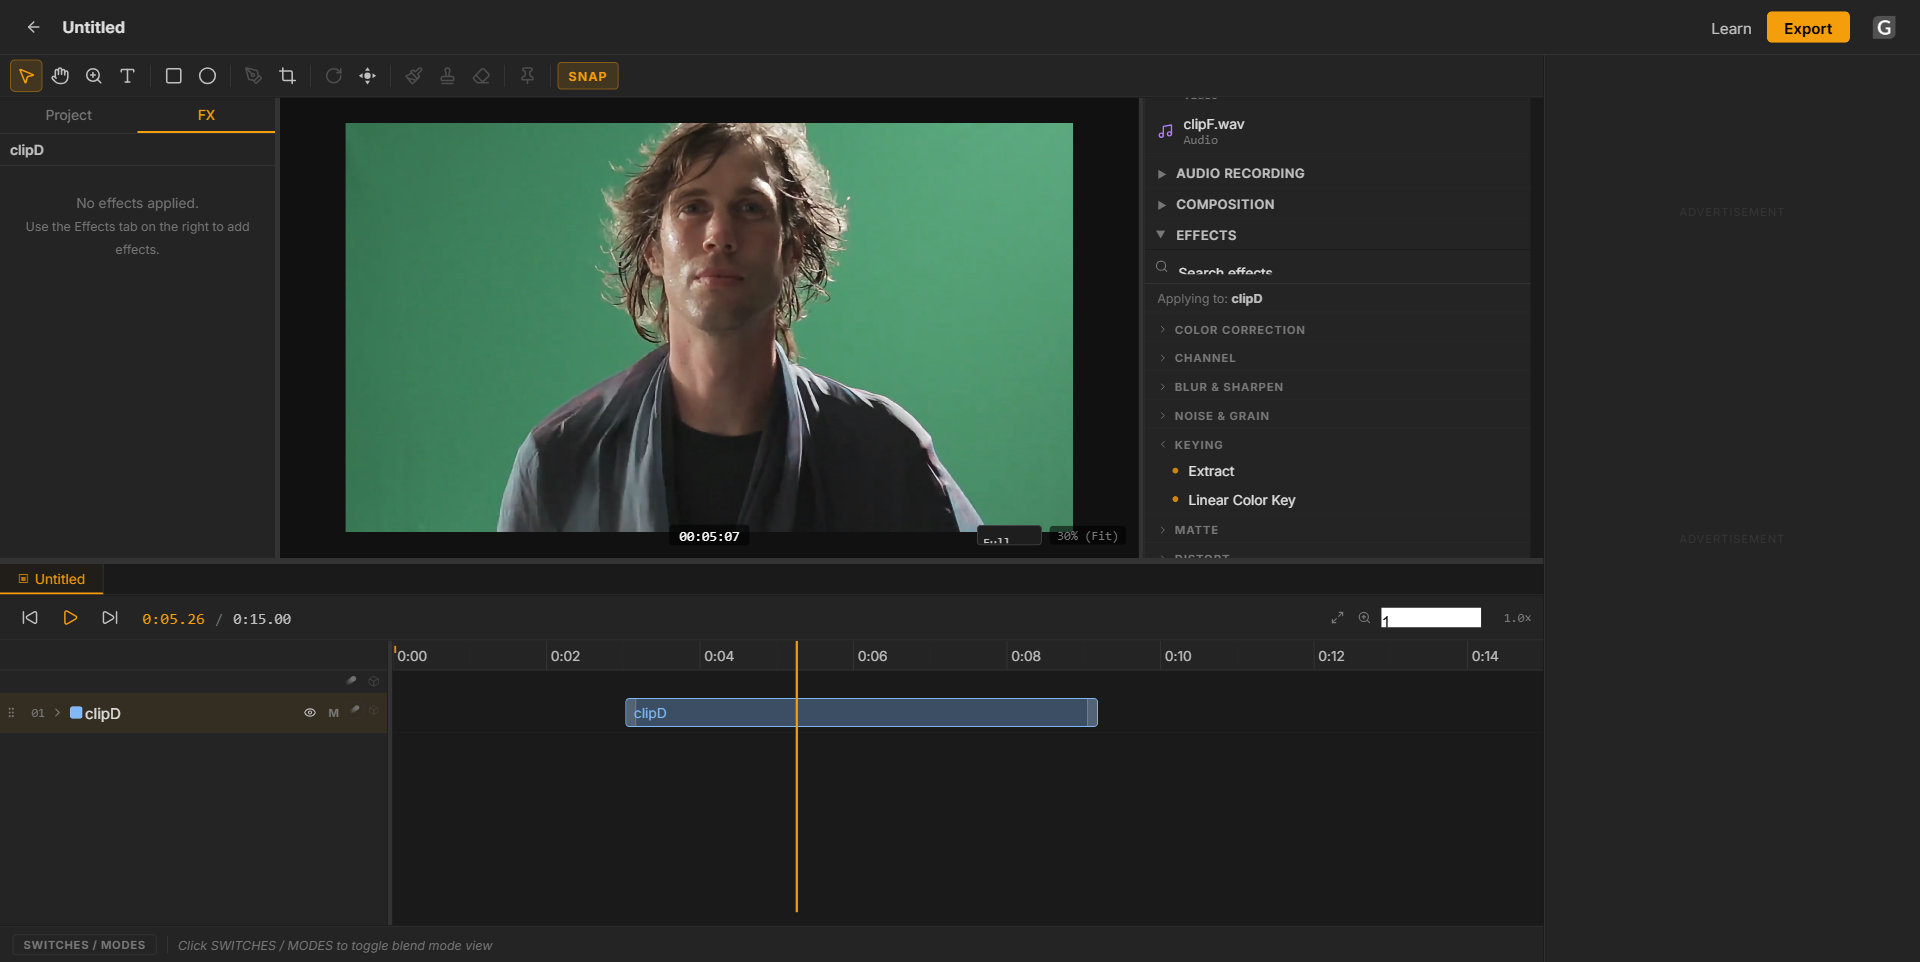
Effects browser, organized by category
8. Mask, blend & pre-comp
Use the mask tool to draw a path and keyframe it for animated reveals. Change a layer's blend mode from the Properties panel to control how it composites with layers beneath it. For complex layer stacks, group them into a pre-comp so you can treat the group as a single layer elsewhere in your project.
9. Undo, redo & History
Every action is tracked in an undo stack — Ctrl+Z / Ctrl+Shift+Z to step back and forward. For a visual view, open the History panel on the right and click any past action to jump straight to that point, Photoshop-style.
10. Export your video
When your composition is ready, click Export in the top-right corner. BrwsrFx renders an H.264 MP4 at 1080p entirely in your browser using FFmpeg.wasm — no upload, no queue. During Beta, exports are ad-supported but watermark-free.
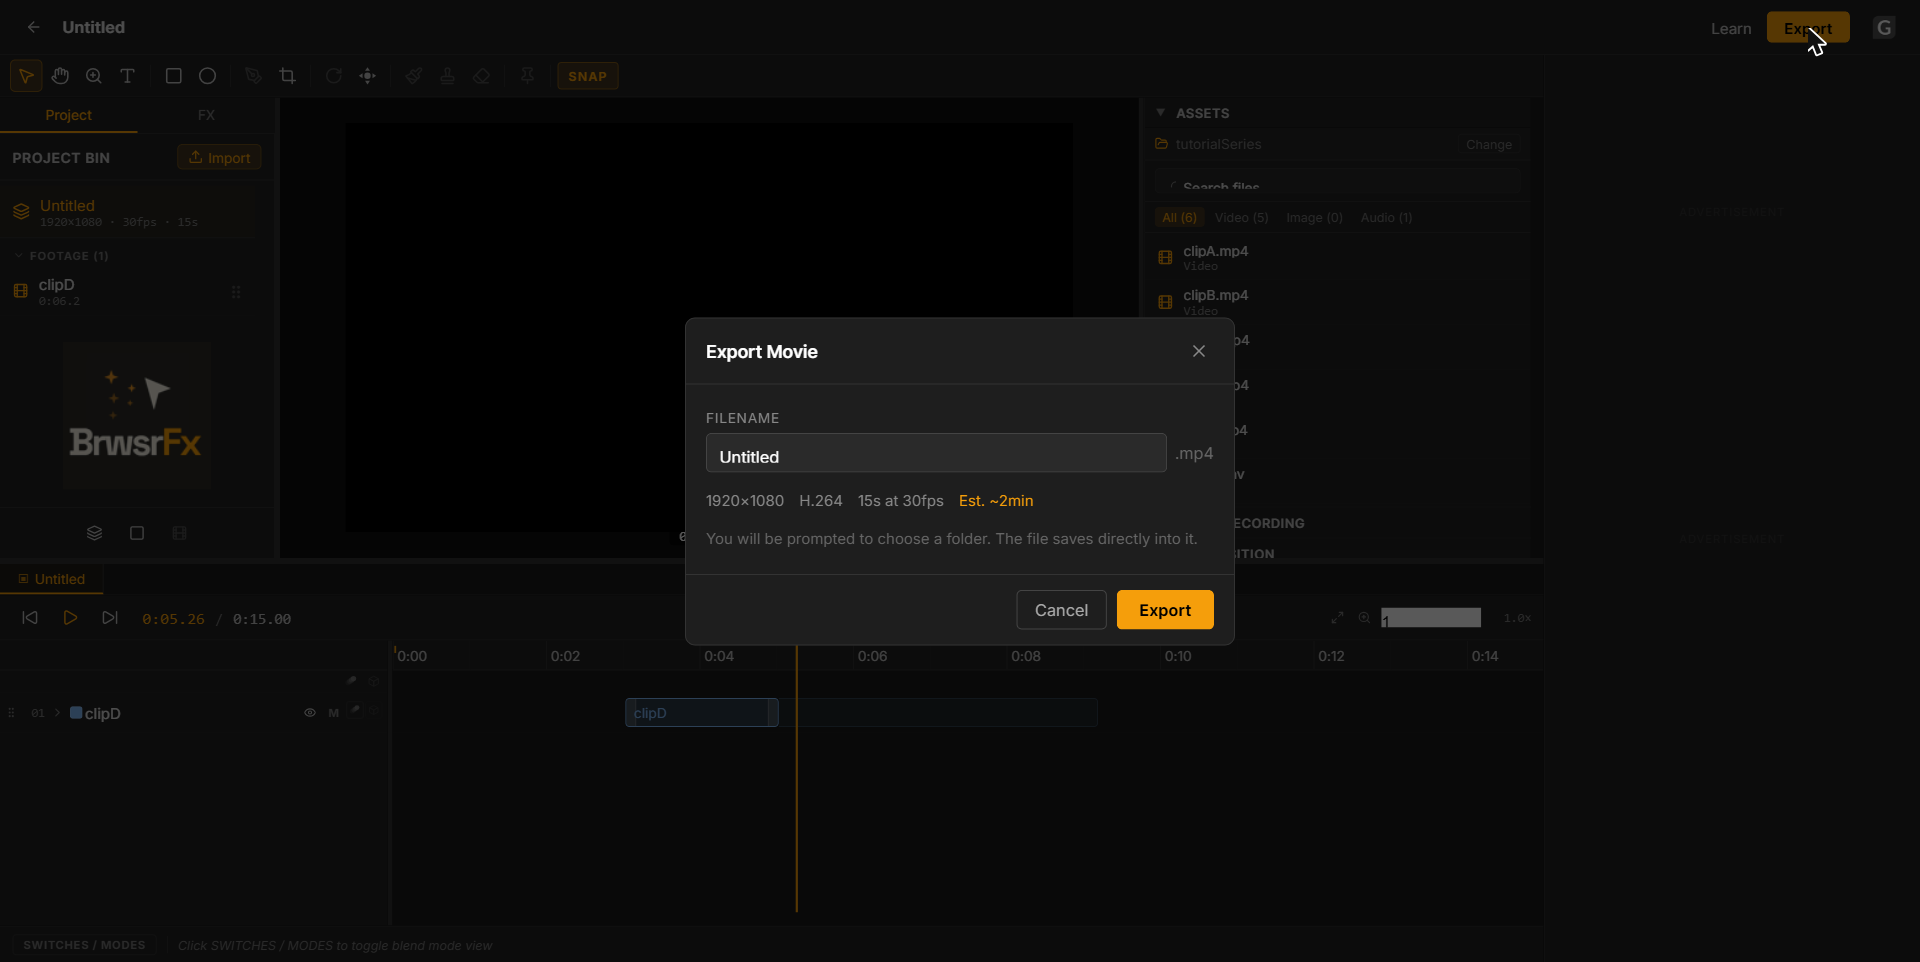
Export dialog: resolution, codec, duration and estimated render time
Free. Ad-supported. With your support, it stays that way.