How to Create a Professional Video Title Card Without After Effects
A title card is one of the most useful motion graphics assets you can build. A character or scene fills the frame, a bold coloured bar sits across the lower third, and your title sits on top of it: clean, professional, ready for social or a title sequence.
This guide walks through building exactly that in BrwsrFx using three layers: an image, a masked solid, and a text layer. No install, no subscription, no plugins. The finished composition is 9:16 for vertical social formats, but the same approach works for any aspect ratio.
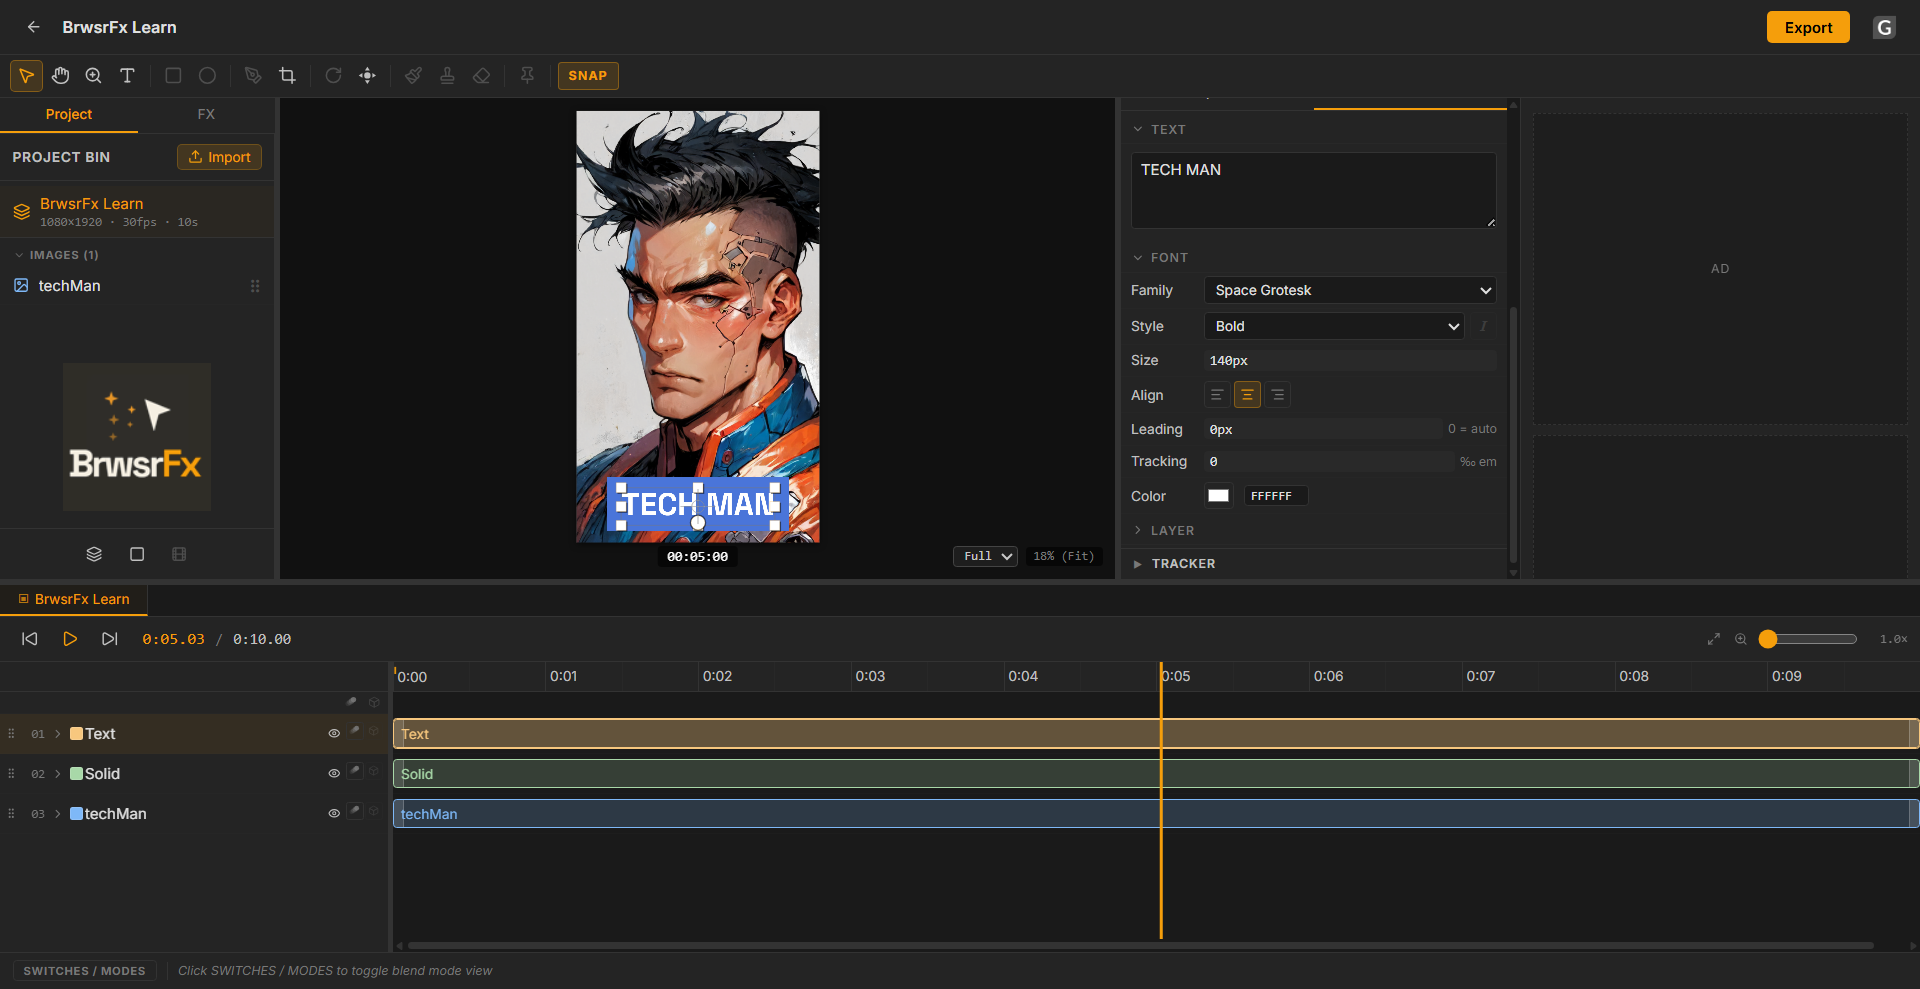
The finished title card: image layer, coloured solid bar, bold white text.
Step 1: Create a New Composition
Open BrwsrFx at brwsrfx.vercel.app. The editor opens directly, no sign-in needed. From the start screen, create a new composition. Set the resolution to 1080x1920 for vertical 9:16, frame rate to 30fps, and duration to 10 seconds.
The editor opens with an empty timeline and a black canvas.
Step 2: Add Your Image Layer
Import your image via the Project Bin. Click Add to Project Bin, then drag the asset onto the timeline or click Add Layer. The image appears on the canvas.
Scale the layer up in the Properties panel to fill the frame. In this example, the image is scaled to 160% and centred at X:540 Y:960, the exact centre of the 1080x1920 composition. Adjust scale until your image fills the frame the way you want it.
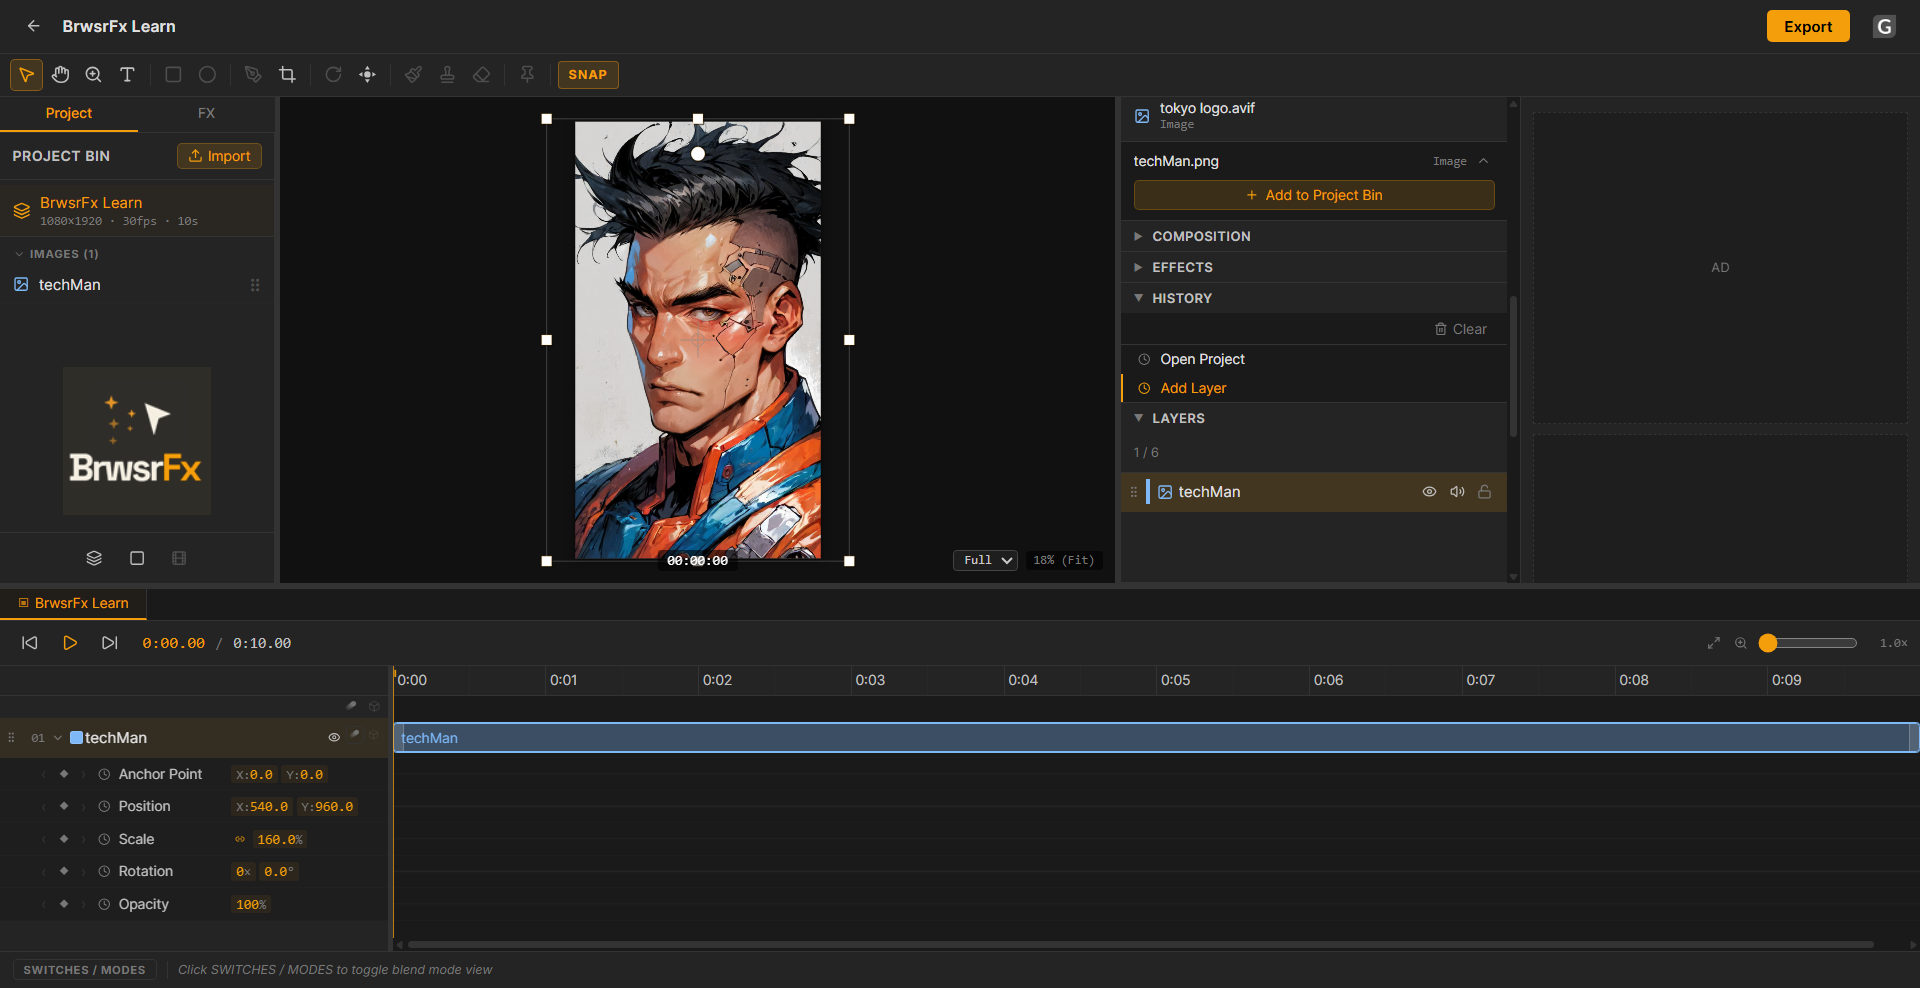
The image layer scaled to fill the 9:16 canvas, expanded in the timeline.
Step 3: Add a Solid and Mask it to a Title Bar
In the Project Bin, create a new Solid. Pick your brand or accent colour. This becomes the title bar background. The solid fills the full frame by default.
With the solid selected, add a rectangular mask. In BrwsrFx, add the mask from the layer controls, then drag the mask points to crop the solid down to a horizontal bar across the lower third of the frame. Drag the top and bottom points close together for a shallow bar, and position the bar vertically where you want the title to sit.
In the Properties panel, adjust the solid's Position and Scale to fine-tune placement. In this example the solid is positioned at Y:1150 with Scale at 75%, placing the bar across the lower third of the 1920px tall frame.
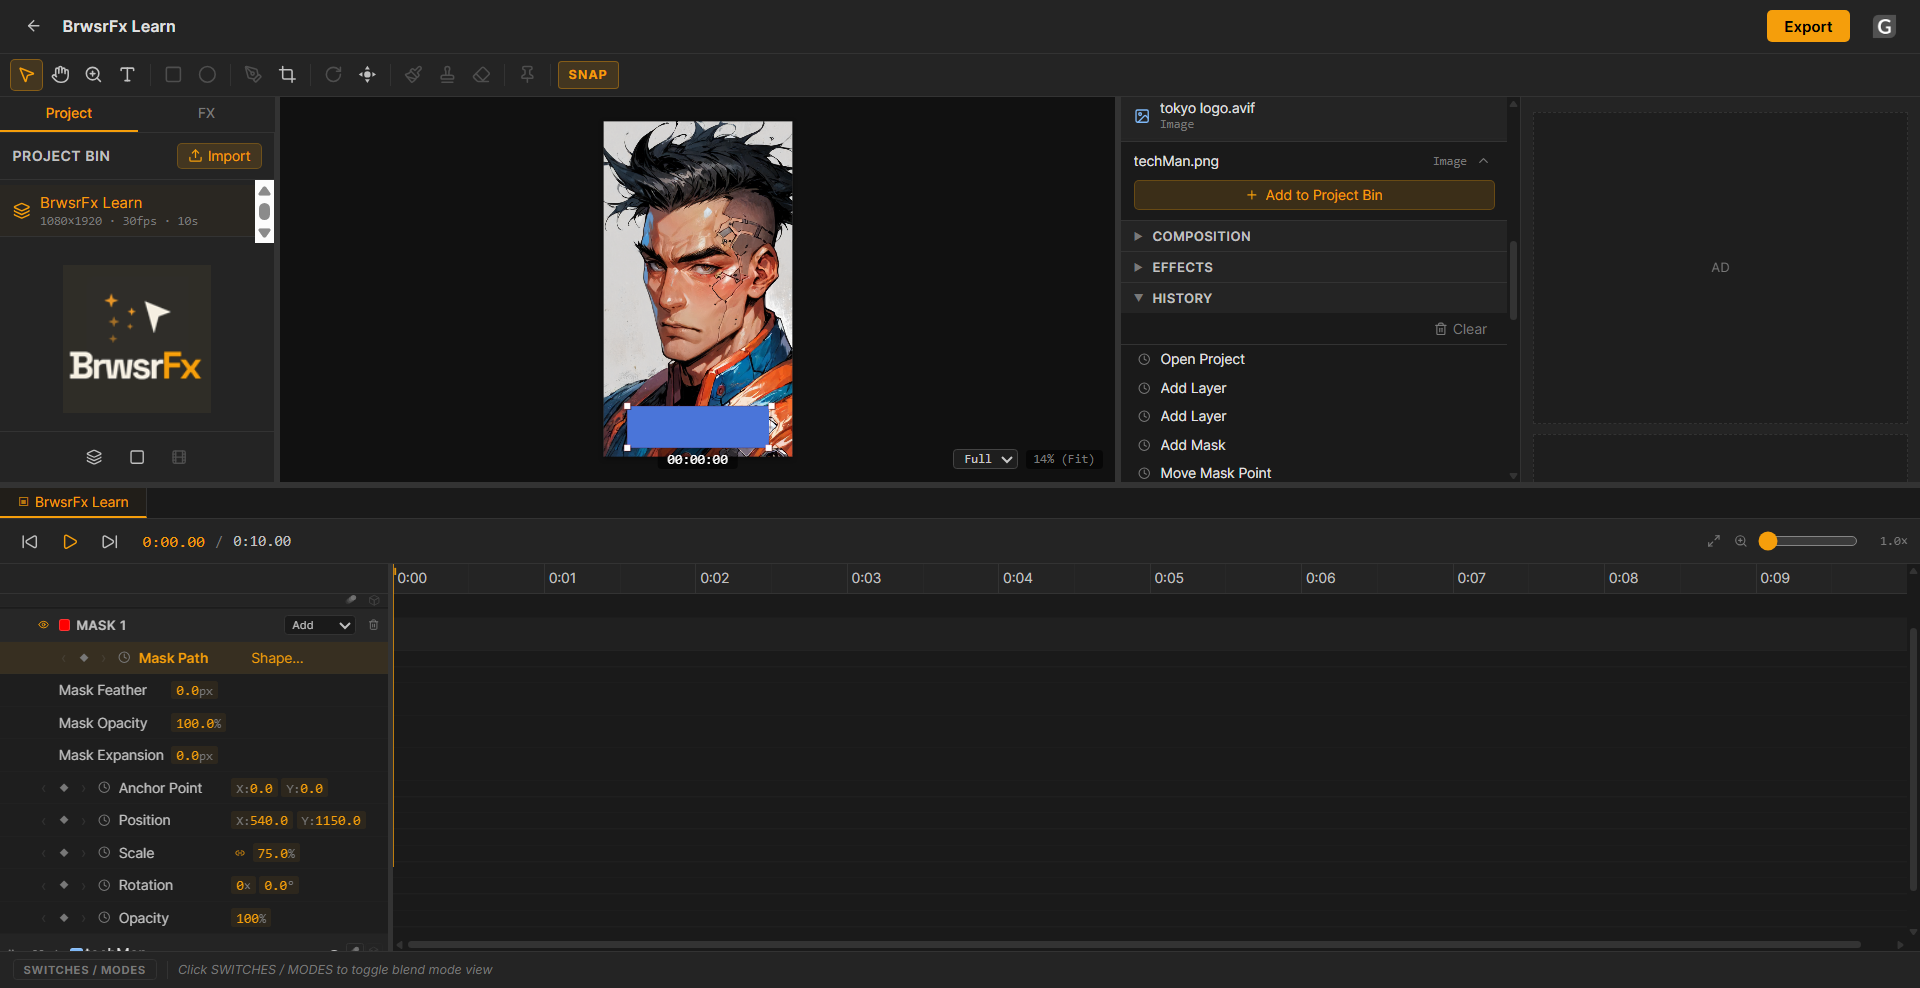
The solid layer with a rectangular mask creating the title bar. Mask controls visible in the timeline.
Step 4: Add the Text Layer
Add a Text layer. Type your title. In the Properties panel on the right, set your font. This composition uses Space Grotesk Bold at 140px, white (#FFFFFF), centred alignment. BrwsrFx includes a selection of Google Fonts including Inter, Montserrat, Bebas Neue, Oswald, and others.
Position the text so it sits centred on the coloured bar. The text layer should be above the solid in the layer stack so it renders on top.
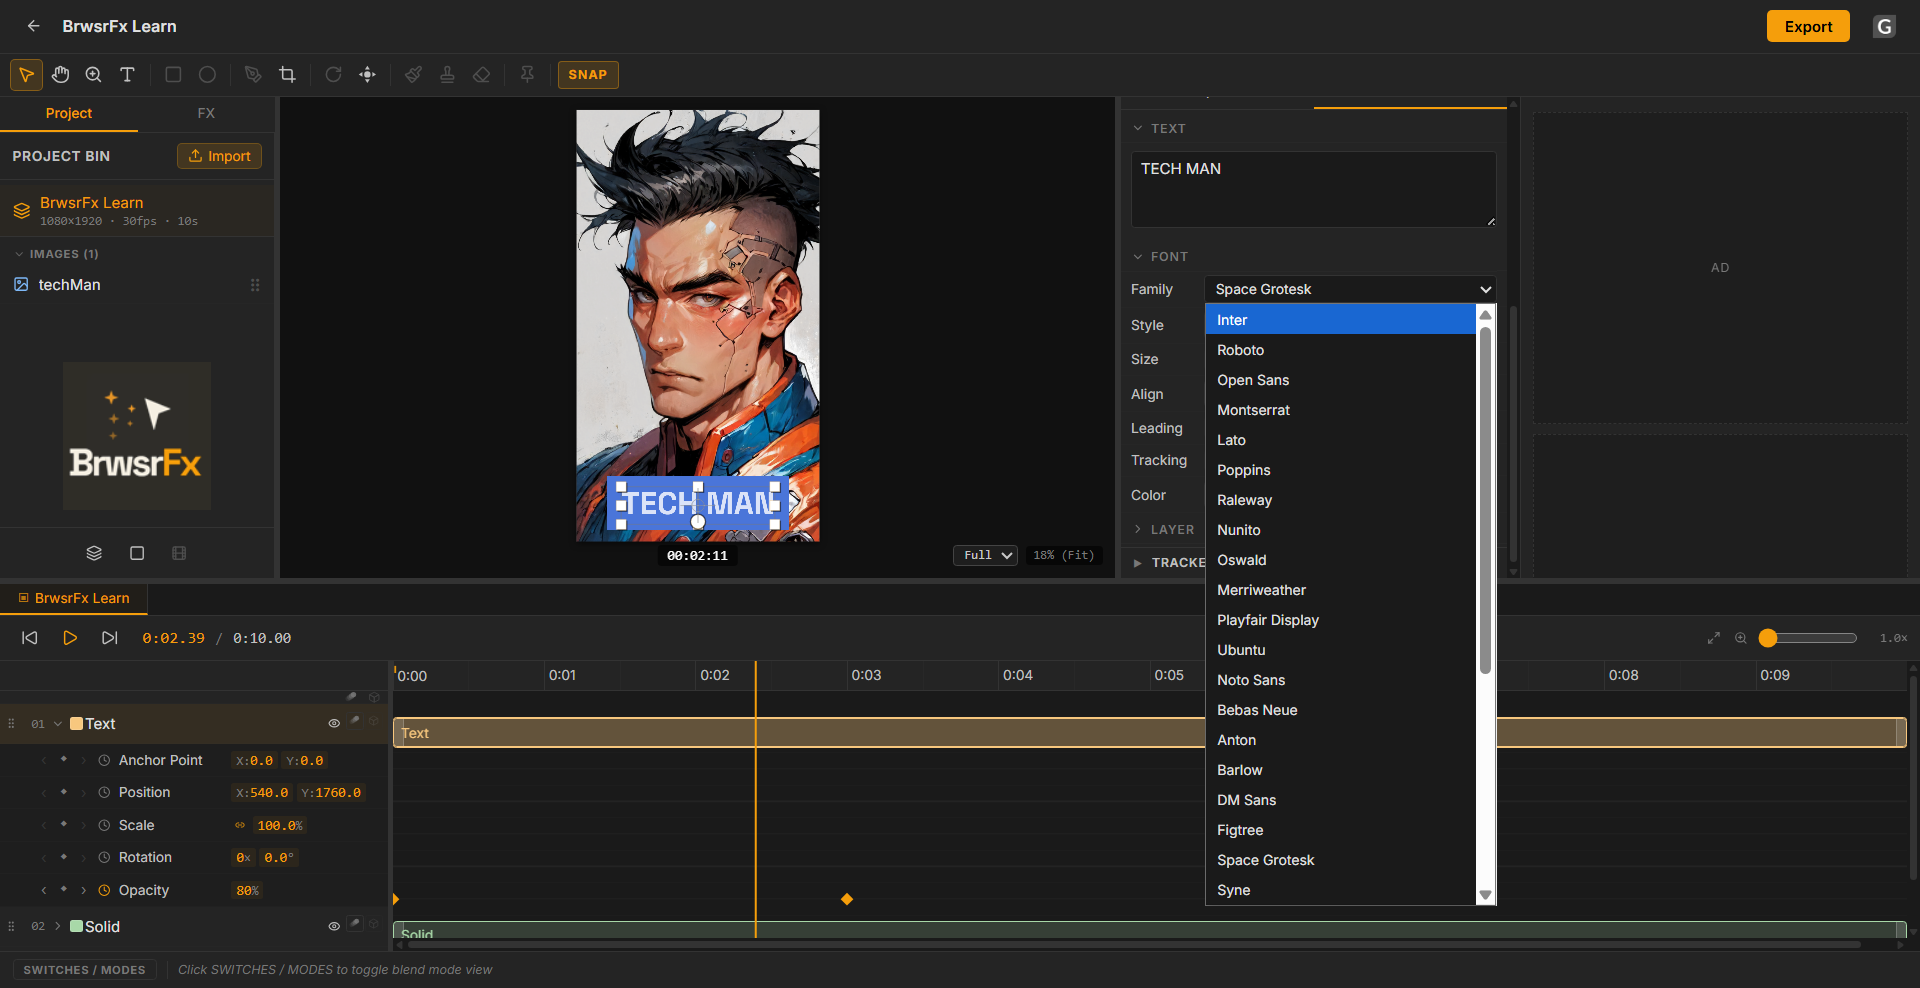
Text layer positioned on the solid bar. Layer stack showing Text on top, Solid below, image at the bottom.
Layer Order
The layer stack for this composition from top to bottom:
- Text: title, renders on top of everything
- Solid: masked to the title bar, provides the coloured background for the text
- Image: fills the frame behind both layers
If your text is hidden behind the solid, drag it above the solid in the timeline layer order.
Step 5: Export
Click Export in the top bar. The Export Movie dialog shows your composition settings: 1080x1920, H.264, 10 seconds at 30fps. BrwsrFx estimates the render time before you start. A 10-second vertical composition typically takes around 45 seconds in the browser.
Click Export and choose a folder when prompted. The MP4 saves directly into that folder. No upload, no watermark, no queue.
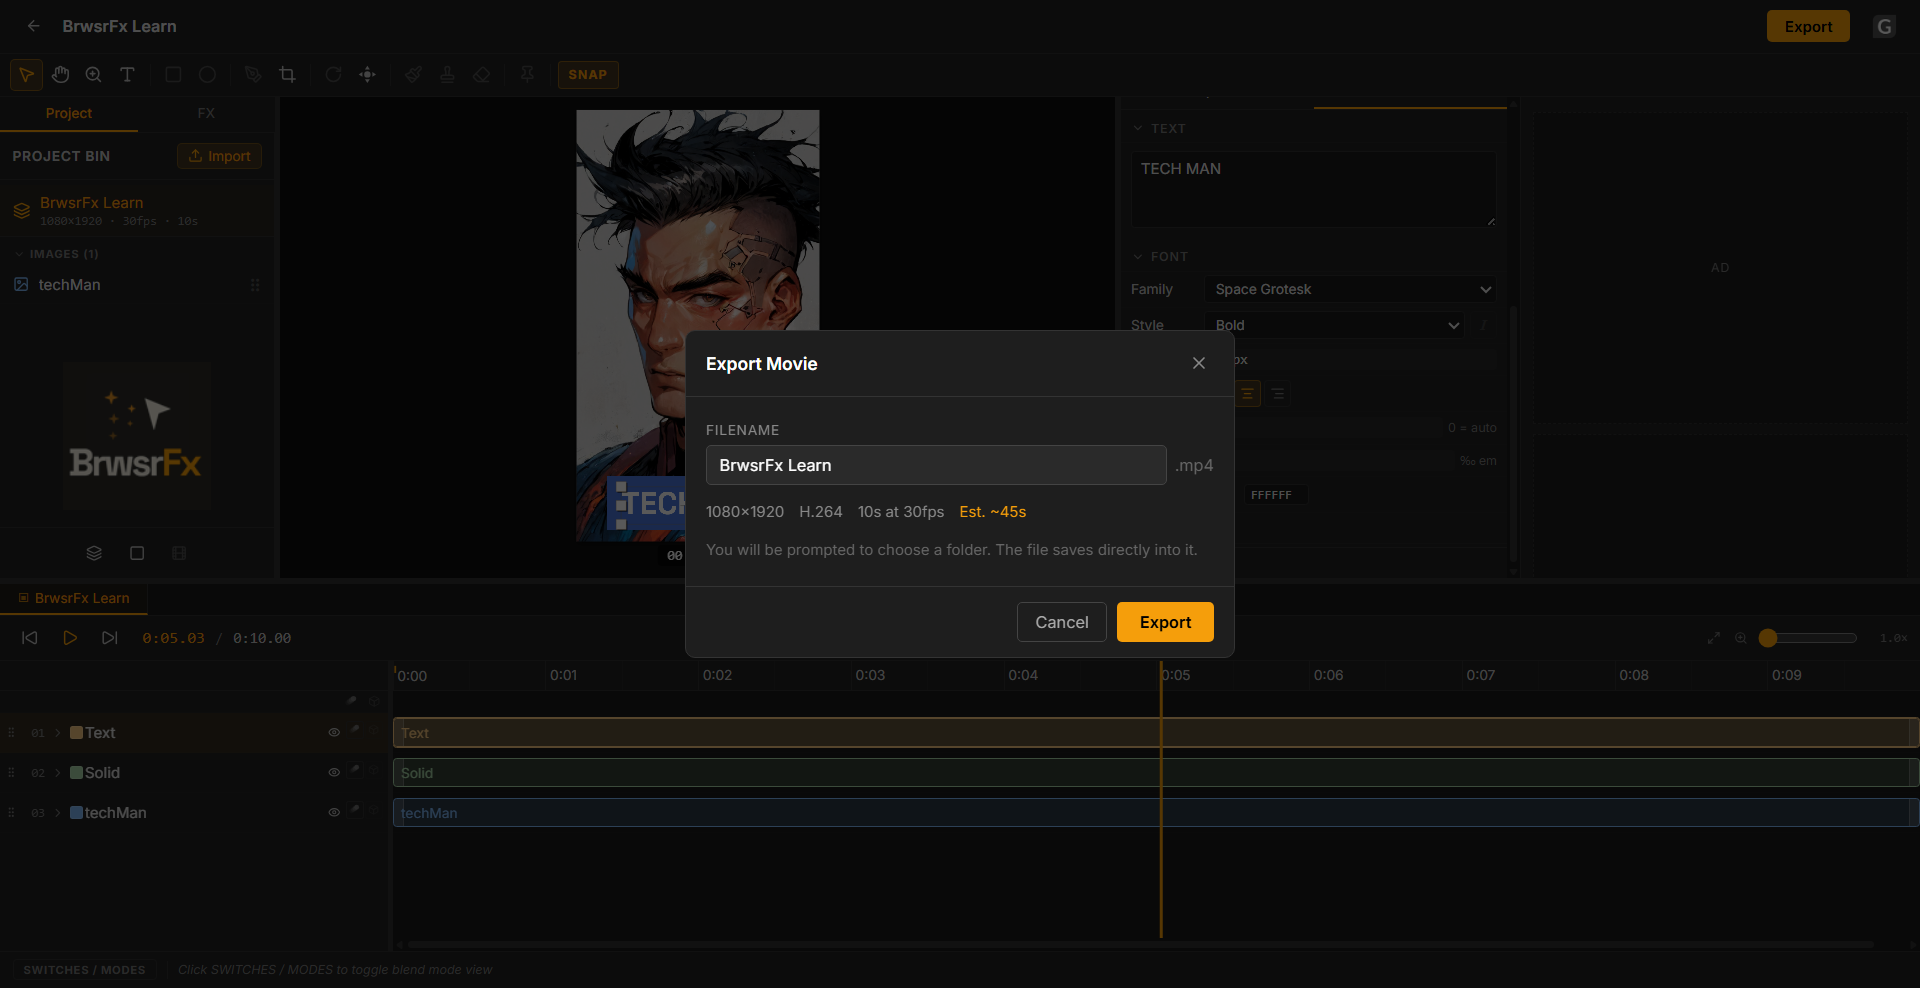
The Export Movie dialog showing resolution, codec, and estimated render time.
Reusing This as a Template
Your project saves automatically. Duplicate it from the start screen to create variations: swap the image, change the solid colour, update the text. The layer structure and positioning carry over. This is the same template approach After Effects users build and reuse across projects. In BrwsrFx it costs nothing.
The same three-layer structure works for landscape 16:9 compositions. Change the composition resolution and reposition the layers. The approach is identical.
What This Composition Used
- Image layer: background visual scaled to fill the frame
- Solid layer with rectangular mask: coloured title bar
- Text layer: Space Grotesk Bold 140px, white, centred
- Layer ordering: text on top, solid below, image at the bottom
- Export: H.264 MP4, 1080x1920, no watermark
All of these are available on the free tier.
Free. Ad-supported. With your support, it stays that way.